Free HTML Email Templates: What to Edit First
Free HTML email templates should be edited in this order: branding, copy, images, CTAs, links, mobile layout, and footer. Follow a practical editing sequence.

Md. Yaikub Hossain Razon
Free HTML email templates should be edited in a clear order: first replace branding and the core message, then update images, CTA buttons, links, supporting sections, footer details, and mobile behavior. This sequence keeps the campaign focused while reducing time spent polishing elements that may later change.
MailEditor currently offers more than 200 HTML email templates across newsletters, ecommerce, onboarding, events, promotions, and transactional campaigns. Meanwhile, Can I Email tracks 308 HTML and CSS features across major email clients, which shows why final layout checks still matter after customization.
This guide is for marketers, founders, designers, and email teams starting from a ready-made template. It gives you a practical edit order that moves from campaign strategy to final QA.
What Should You Edit First?
When customizing free HTML email templates, edit the campaign goal, branding, headline, body message, and primary CTA before fine-tuning visual details. These elements define what the email says, who it comes from, and what the recipient should do next.
A useful order is:
-
Campaign goal
-
Logo and brand identity
-
Headline
-
Main copy
-
Hero image
-
Primary CTA
-
Supporting sections
-
Links
-
Footer
-
Mobile layout
-
Final testing
This order prevents a common workflow problem.
If you style every section before confirming the message, you may later need to redo those design decisions.
Start with meaning.
Then refine presentation.
Step 1: Confirm the Campaign Goal
Before editing any element, decide what the email should accomplish. The goal determines which sections stay, which sections change, and which CTA deserves the most attention.
Ask one simple question:
What should the recipient do after reading this email?
Examples include:
-
Shop a collection
-
Read an article
-
Register for an event
-
Confirm an account
-
Complete onboarding
-
View an order
-
Book a demo
-
Download a resource
-
Renew a subscription
-
Give feedback
A free template may contain more sections than your campaign needs.
That is fine.
The template is a starting point.
For example, a promotional template may include:
-
Hero section
-
Product grid
-
Testimonials
-
Offer banner
-
Secondary products
-
Social links
-
CTA
-
Footer
If your campaign promotes one product, you may only need:
Hero → Product Details → CTA → Footer
Confirming the goal first makes every later editing decision easier.
Step 2: Update Your Branding
Replace sample branding early so you can judge the template using your real visual identity. Start with the logo, brand colors, typography, button style, and major background colors.
Update:
-
Logo
-
Brand colors
-
Heading style
-
Body text style
-
Button colors
-
Link colors
-
Background colors
-
Brand imagery
Do not spend too much time on tiny spacing adjustments yet.
First make the template recognizable as your brand.
Start With the Logo
Replace the sample logo.
Check:
-
Image quality
-
Width
-
Height
-
Alignment
-
Background contrast
-
Mobile appearance
A wide horizontal logo may need different spacing than the sample logo.
That can affect the entire header.
Apply Brand Colors
Next, replace template colors with your approved palette.
Focus on:
-
Primary CTA
-
Headlines
-
Links
-
Header
-
Background accents
-
Dividers
Maintain strong readability while applying your colors.
WCAG 2.2 specifies a minimum 4.5:1 contrast ratio for normal text and 3:1 for qualifying large text at Level AA.
Update Typography
Use typography that supports your brand while remaining practical for email.
Keep:
-
Heading hierarchy clear
-
Body text readable
-
CTA labels easy to scan
-
Font choices consistent
If your preferred font needs a fallback, define one.
Email clients do not all handle fonts identically.
Step 3: Rewrite the Main Message
After branding, replace the template headline and core copy before editing smaller sections. The headline, supporting message, and main offer determine whether the rest of the layout still fits your campaign.
Start with:
-
Headline
-
Supporting text
-
Offer or main value
-
Important date or condition
-
Primary CTA message
Do not simply replace each sample sentence with text of the same length.
Write the message your campaign needs.
Then adjust the layout if necessary.
Edit the Headline First
The headline should communicate the main point quickly.
For example:
Template copy:
Discover Something New
Campaign copy:
Your Fall Collection Has Arrived
The second version gives the template a clear campaign context.
Rewrite Supporting Copy
Supporting text should explain the headline without repeating it.
Keep paragraphs short.
One or two brief paragraphs often work better than a large content block.
Check Content Length
New copy can change the design.
A longer headline may:
-
Wrap onto another line
-
Increase section height
-
Push the CTA lower
-
Affect mobile spacing
That is normal.
Edit the message first.
Then adjust spacing around the real content.
Step 4: Replace the Images
Replace template images after the main message is established. This makes it easier to choose visuals that support the campaign rather than selecting images before the content direction is clear.
Start with the main image.
Then replace secondary visuals.
Check:
-
Hero image
-
Product images
-
Article thumbnails
-
Icons
-
Testimonial photos
-
Background images
-
Logos
Match Images to the Message
Your image should support the section around it.
For example:
A product launch should show the product.
An event invitation may show the speaker, location, or event identity.
A newsletter may use editorial imagery.
Avoid adding an image only because the template contains an image block.
If the section works better without one, remove it.
Use the Right Dimensions
Maintain the intended image proportions when possible.
This helps preserve:
-
Layout balance
-
Mobile behavior
-
Loading efficiency
-
Consistent spacing
Also check image quality after resizing.
Add Alt Text
Meaningful images should have useful alt text.
For example:
Black leather travel bag with front pocket
is more useful than:
Image
Decorative images can use an empty alt attribute when appropriate.
Step 5: Edit the Main CTA
The primary CTA should be edited immediately after the core message and main visual. Its label and destination should match the campaign goal you defined at the beginning.
Update:
-
CTA text
-
CTA URL
-
Button color
-
Text color
-
Button size
-
Alignment
Use specific CTA labels.
Examples:
-
Shop the collection
-
View the new products
-
Reserve your seat
-
Read the full guide
-
Complete your profile
-
Download the report
-
View order details
A CTA should make the next action clear without requiring extra explanation.
Check CTA Priority
A template may contain several buttons.
Decide which action is primary.
Then keep secondary actions visually less dominant.
This gives the email a clearer path.
Step 6: Update Supporting Content
Once the main message and CTA are complete, edit the supporting sections. These blocks should strengthen the campaign rather than compete with its main purpose.
Supporting sections may include:
-
Product cards
-
Article cards
-
Feature lists
-
Testimonials
-
Reviews
-
Event details
-
Pricing
-
Benefits
-
FAQs
-
Social links
Ask whether each section helps the reader understand or act on the message.
If it does, customize it.
If it does not, consider removing it.
Keep Content Hierarchy Clear
Supporting information should come after the main message.
For example:
Headline → Main Benefit → CTA → Features → Social Proof → Final CTA
This gives the campaign a natural reading flow.
Step 7: Remove Extra Sections
A template does not need to keep every block included in its original design. Remove sections that do not support your campaign goal, so the finished email remains focused and easy to scan.
Possible sections to remove include:
-
Extra product rows
-
Duplicate CTAs
-
Sample testimonials
-
Social blocks
-
Large navigation menus
-
Secondary banners
-
Unused article cards
A shorter email is not automatically better.
A longer email is not automatically better either.
Use the amount of content the campaign needs.
Reorder Sections When Needed
You may also move blocks.
For example:
Original template:
Hero → Products → Testimonial → Offer → CTA
Your campaign:
Hero → Offer → Products → CTA → Testimonial
Templates should support your message.
Your message should not be forced into the original demo order.
Step 8: Check Every Link
After the main content is stable, review every clickable element in the email. Confirm that each link points to the correct destination and that no sample URLs remain.
Check:
-
Logo link
-
Navigation
-
Hero CTA
-
Product links
-
Article links
-
Text links
-
Social icons
-
Footer links
-
Unsubscribe link
-
Preference link
Use a Link Checklist
For each link, ask:
-
Does it open the correct page?
-
Does the CTA text match the destination?
-
Does the URL contain the correct campaign parameters?
-
Is the domain correct?
-
Is any sample link still present?
This step is especially important when using a ready-made template.
Demo content is designed to be replaced.
Step 9: Update the Footer
Edit the footer after the main campaign content because it usually contains reusable brand, contact, preference, and compliance details. Replace all placeholder information before the email enters final testing.
Review:
-
Company name
-
Address
-
Contact information
-
Support link
-
Privacy link
-
Social links
-
Preference link
-
Unsubscribe link
-
Copyright text
Do not assume the template footer already contains your required information.
Your ESP may automatically insert some footer elements.
Check how your actual sending workflow handles them.
Step 10: Review Mobile Layout
Review the mobile layout after the real copy, images, and sections are in place. Content changes affect wrapping, section height, stacking, buttons, and spacing, so mobile review is most useful after the major edits are complete.
Check:
-
Headline wrapping
-
Body text size
-
Column stacking
-
Image width
-
CTA size
-
CTA alignment
-
Spacing
-
Product cards
-
Footer layout
Google documents support for CSS media queries in Gmail, including width, device width, orientation, and resolution queries.
However, support still varies by client.
Can I Email currently tracks hundreds of HTML and CSS behaviors across major email environments.
That makes final responsive testing important.
What Should You Edit Last?
Fine spacing, decorative details, and final visual polish should come after the message, branding, images, CTA, links, and structure are stable. Editing these details last reduces repeated work when content changes earlier in the process.
Save these for the final pass:
-
Small padding adjustments
-
Divider spacing
-
Minor alignment
-
Decorative backgrounds
-
Icon spacing
-
Fine typography adjustments
-
Small mobile refinements
Think of the workflow as:
Meaning → Structure → Branding → Visuals → Function → Polish
This order keeps production organized.
The First-Pass Editing Framework
Here is a practical MailEditor framework for deciding what to edit now and what can wait.
|
Priority |
Edit |
Why |
|
1 |
Campaign goal |
Controls every other decision |
|
2 |
Brand identity |
Establishes visual direction |
|
3 |
Headline and copy |
Defines the message |
|
4 |
Main image |
Supports the message |
|
5 |
Primary CTA |
Defines the action |
|
6 |
Supporting sections |
Adds useful detail |
|
7 |
Links |
Connects content to destinations |
|
8 |
Footer |
Completes campaign information |
|
9 |
Mobile layout |
Checks real content behavior |
|
10 |
Final polish |
Refines the finished design |
This order is an editorial framework created for this guide.
It is not a rigid technical rule.
Some campaigns will require a slightly different sequence.
However, it provides a strong starting point for most template-based workflows.
Before vs After Editing
A ready-made template and a finished campaign serve different purposes.
|
Template Stage |
Finished Campaign |
|
Sample logo |
Real brand logo |
|
Demo headline |
Campaign-specific headline |
|
Placeholder copy |
Final campaign message |
|
Sample images |
Brand or product images |
|
Demo CTA |
Real campaign CTA |
|
Placeholder links |
Verified destination URLs |
|
Default sections |
Campaign-specific sections |
|
Sample footer |
Real company information |
|
Base responsive design |
Reviewed final mobile layout |
The template gives you structure.
Your edits give it purpose.
How to Edit in MailEditor
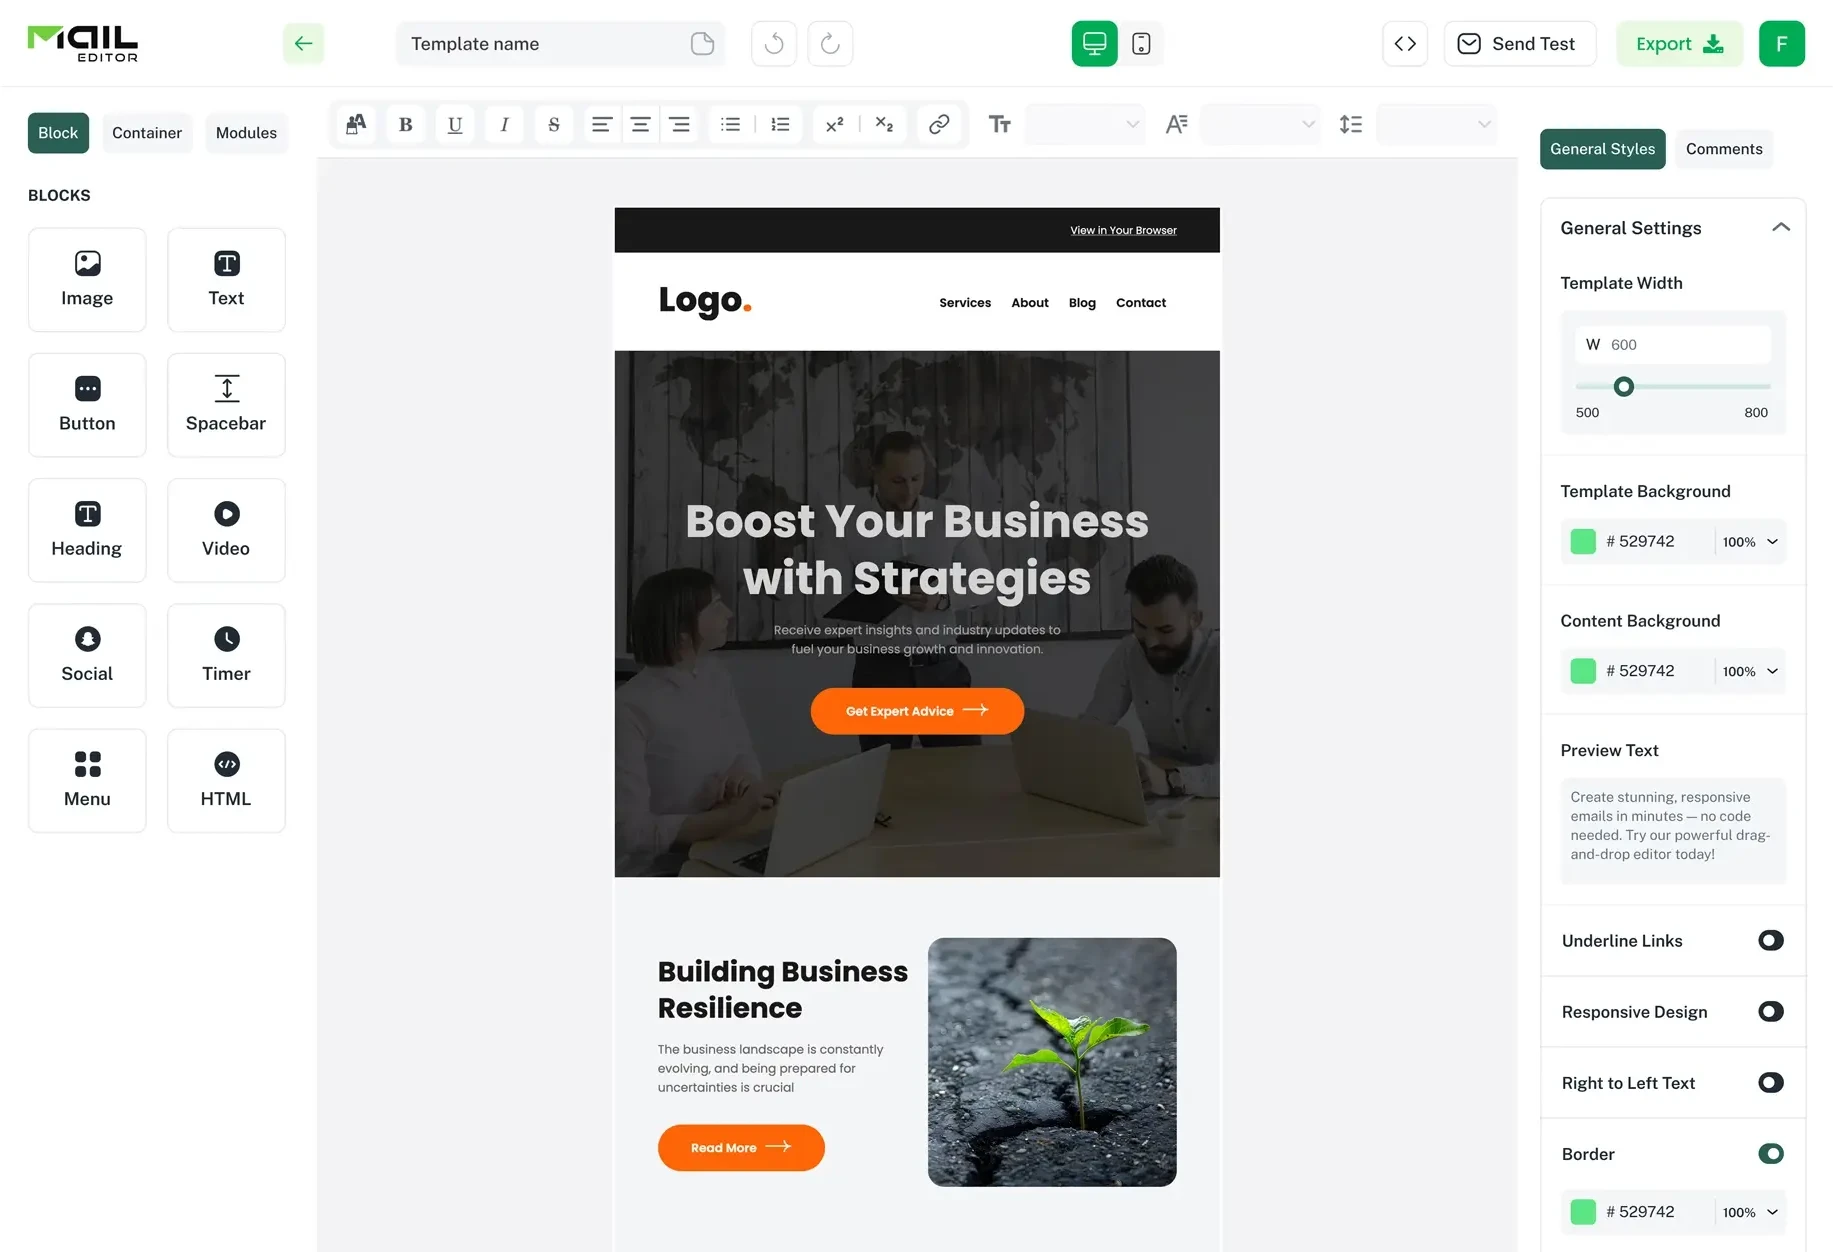
MailEditor lets you start from a ready-made layout and customize the campaign visually. You can update content, images, branding, links, buttons, spacing, and sections before exporting the completed HTML.
A practical workflow is:
-
Choose a template.
-
Open it in the editor.
-
Replace the logo.
-
Apply brand colors.
-
Rewrite the headline.
-
Replace body copy.
-
Change images.
-
Update CTA buttons.
-
Remove unnecessary blocks.
-
Check links.
-
Update the footer.
-
Review mobile layout.
-
Send a test.
-
Export the finished email.
Browse the MailEditor free HTML email templates to choose a starting layout.
If you already have your own coded email, MailEditor also explains how to edit a custom HTML email template without coding.
You can also use the MailEditor HTML email builder to work visually with the complete campaign.
What Should You Test?
Test the finished customized email rather than relying only on the original template preview. New copy, images, URLs, sections, and branding can change how the final campaign behaves across screen sizes and inboxes.
Before sending, check:
-
Subject line
-
Preheader
-
Sender details
-
Logo
-
Headline
-
Body copy
-
Images
-
Alt text
-
CTA buttons
-
All URLs
-
Personalization
-
Desktop layout
-
Mobile layout
-
Footer
-
Unsubscribe option
-
Dark-mode readability
For broader rendering QA, follow MailEditor’s guide on how to test email templates across devices.
Send a Real Test
Do not rely only on editor preview.
Send the campaign to inboxes your team controls.
Review it on:
-
Desktop
-
Mobile
-
Relevant email clients
The final delivered email is the version your recipient experiences.
A 10-Minute First Edit
If you need to customize a template quickly, use this first-pass sequence.
Minutes 1–2: Define the Goal
Confirm:
-
Audience
-
Message
-
Primary CTA
Minutes 3–4: Add Branding
Replace:
-
Logo
-
Main colors
-
Basic typography
Minutes 5–6: Replace Core Content
Update:
-
Headline
-
Main copy
-
Offer
-
Important date
Minutes 7–8: Replace Visuals
Update:
-
Hero image
-
Product images
-
Supporting graphics
Minute 9: Fix CTA and Links
Confirm:
-
CTA label
-
CTA URL
-
Main supporting links
Minute 10: Review Structure
Check:
-
Extra sections
-
Footer
-
Mobile preview
This does not replace full QA.
It gives you an efficient first editing pass.
Final Answer
When editing free HTML email templates, start with the campaign goal and the elements that define the message.
Use this order:
-
Confirm the campaign goal.
-
Replace the logo.
-
Apply brand colors.
-
Rewrite the headline.
-
Update the main copy.
-
Replace campaign images.
-
Edit the primary CTA.
-
Update supporting content.
-
Remove unnecessary sections.
-
Check every link.
-
Update the footer.
-
Review mobile layout.
-
Send a test.
-
Make final visual refinements.
-
Export the completed email.
This order keeps the editing process focused.
You establish what the email needs to say first, then refine how it looks and behaves.
If you are ready to customize a design, browse the MailEditor free HTML email template library, choose a campaign-ready layout, and edit it visually for your brand and message.
Frequently Asked Questions
Question: What should I edit first in free HTML email templates?
Answer: Start with the campaign goal, logo, brand colors, headline, and primary message. These elements determine the purpose and visual direction of the email. After they are correct, replace images, edit the main CTA, update supporting sections, check links, review the footer, and test the mobile layout.
Question: Should I edit the design or copy first?
Answer: Edit the core copy before spending time on fine design adjustments. Your headline, offer, body message, and CTA can change section height and spacing. Once the actual content is in place, you can make more accurate decisions about layout, padding, imagery, and visual balance.
Question: Can I change free HTML email templates completely?
Answer: The level of customization depends on the template and editor. In MailEditor, templates can be customized visually by updating text, images, links, buttons, colors, spacing, and content sections. You can use the existing structure as a starting point while adapting the campaign to your brand.
Question: Should I replace the template images first?
Answer: Usually, replace the core message before choosing final images. Once the headline, offer, and campaign direction are clear, you can select visuals that support that message. This reduces the chance of choosing attractive images that no longer fit after the campaign copy changes.
Question: Should I remove sections from a free template?
Answer: Yes, when a section does not support your campaign goal. A ready-made template provides a flexible starting structure, not a requirement to use every block. Remove, reorder, or replace sections so the final email gives readers a clear message and logical path to the main action.
Question: When should I check the mobile version?
Answer: Review mobile behavior after the main copy, images, CTA, and sections are in place. Real content can change wrapping, stacking, spacing, and section height. Checking mobile after those edits gives you a more accurate view of how the finished campaign will behave on smaller screens.
Question: What links should I check before sending?
Answer: Check every clickable element, including the logo, navigation, CTA buttons, product links, text links, article cards, social icons, preference links, and unsubscribe links. Confirm each destination is correct and remove any sample URLs that came with the original template.
Question: Can I edit free HTML email templates without coding?
Answer: Yes. Visual HTML email editors such as MailEditor let you update text, images, branding, buttons, links, sections, and spacing without manually rewriting the underlying HTML. You can then preview the final campaign, test it, and export the completed HTML for your email workflow.
Popular Blogs
Email Design2 mins to read
Top Email Template Builders & HTML Email Editors for 2026
Compare the best email template builders and HTML editors to design professional, responsive campaigns without coding.

Email Tips7 mins to read
Best Drag and Drop Email Editors in 2026
Discover the best drag and drop email editors in 2026. Compare top tools, features, templates, pricing, and automation to build stunning emails fast.
Email Design9 mins to read
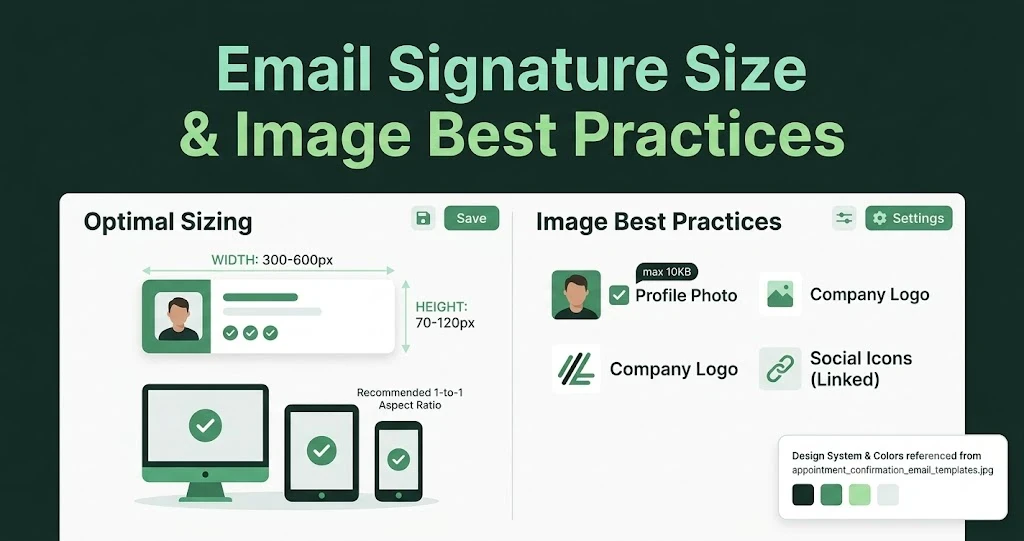
Email Signature Size and Image Best Practices
The ideal email signature is 320–600px wide and 90–200px high. Learn the best image sizes, formats, file limits, and mobile-friendly design tips.
Marketing7 mins to read
4 Best Unlayer Alternatives to Design Emails
Looking for Unlayer alternatives? Explore the 4 best email design tools to create beautiful, responsive emails faster and easier.
Marketing6 mins to read
5 Beefree Alternatives to Upgrade Email Design Workflows
Looking for a better email design tool? Explore 5 Beefree alternatives that streamline workflows, improve collaboration, and elevate email campaigns.