How to Convert a Figma or PSD Design to HTML Email
Convert Figma or PSD to HTML email by exporting assets, using email-safe HTML, adding responsive fallbacks, and testing across inboxes.

Md. Yaikub Hossain Razon
To convert a Figma or PSD design to HTML email, export the required images and graphics, recreate the layout with email-safe HTML, keep important text and buttons as live HTML, add responsive and Outlook-compatible fallbacks, and test the finished template across major inboxes. Do not simply export the entire design as an image or use browser-generated HTML without adapting it for email.
A Figma or Photoshop design is a visual blueprint. An HTML email is a working document that must survive Gmail, Outlook, Apple Mail, mobile screens, image blocking, dark mode, and different levels of CSS support.
That means converting Figma to HTML email is not simply clicking “export HTML.”
The reliable workflow is:
- Prepare the Figma or PSD design.
- Export only the image assets you need.
- Rebuild the design using email-safe HTML.
- Keep text, buttons, and important content as live HTML.
- Add responsive behavior and fallbacks.
- Import the HTML into an editor such as MailEditor for visual changes.
- Test the delivered email before sending.
Figma officially exports static design content in formats such as PNG, JPG, SVG, and PDF rather than production-ready email HTML. Photoshop similarly provides tools for exporting individual layers and assets, but those exported assets still need to be assembled into an HTML email.
Can You Convert Figma Directly to HTML Email?
Not reliably with a normal Figma export.
Figma can export frames, components, groups, sections, and individual assets as static formats such as PNG, JPG, SVG, and PDF. Those exports are useful when preparing the images needed for an email, but they do not create the complete production HTML email for you.
There are plugins and code-generation workflows that can turn visual designs into HTML or CSS, but normal web HTML and production email HTML have different requirements.
For example, CSS Grid and Flexbox support still varies among email clients, while Classic Outlook for Windows has historically used Microsoft Word-based HTML rendering.
So if an automated tool generates code from your Figma file, treat the result as a starting point rather than assuming it is ready to send.
Can You Convert a PSD Directly to HTML Email?
The same principle applies to Photoshop.
Photoshop can export individual layers as separate files, and current versions provide export options for formats such as PNG and JPG. Adobe also documents workflows for generating image assets from PSD layers and layer groups.
However, the PSD itself is still a design source.
You must convert its:
- Text layers into HTML text
- Buttons into linked HTML elements
- Columns into email-compatible structures
- Photos and artwork into optimized image assets
- Backgrounds into compatible HTML/CSS treatments
- Desktop layout into responsive behavior
The objective is not to reproduce Photoshop pixels with hundreds of positioned elements. It is to reproduce the design and hierarchy using code that email clients can understand.
Figma vs. PSD to HTML Email
The final HTML process is similar regardless of the design tool.
| Design source | What you normally take from it | What still needs to be built |
|---|---|---|
| Figma | Images, icons, dimensions, colors, typography, spacing | Email HTML, responsiveness, fallbacks |
| PSD | Photos, graphics, logos, dimensions, colors, typography | Email HTML, responsiveness, fallbacks |
| Exported screenshot | Visual reference only | Almost the entire email |
| Existing HTML | HTML structure and assets | Editing, optimization and testing |
The biggest difference is how conveniently you can inspect and export the source assets.
The email itself still needs to be engineered for inboxes.
Two Ways to Turn a Figma or PSD Design Into an Email
There are two practical workflows.
Option 1: Code the HTML email, then edit it visually
This route works well when a developer is available.
The workflow is:
Figma or PSD → export assets → build email HTML → import into MailEditor → visually edit → test → export
Once the developer has produced the HTML, the marketing team can import and edit the existing HTML in MailEditor instead of returning to the developer for every copy, image, link, or CTA change. MailEditor’s Import & Edit workflow supports existing email HTML and allows it to be customized visually.
Option 2: Rebuild the design in a visual email editor
If you do not need a hand-coded implementation, export the graphics from Figma or Photoshop and recreate the layout directly inside a drag-and-drop HTML email editor.
MailEditor’s editor is designed for responsive HTML email creation and provides visual controls for content, images, spacing, buttons, and layout without requiring the entire email to be coded manually.
This route is often easier when the Figma file is primarily a design reference rather than a strict coded specification.
How to Convert Figma to HTML Email Step by Step
Step 1: Review the Figma Design Before Exporting Anything
Do not immediately export every layer.
First identify the main email sections:
- Header
- Logo
- Hero
- Headline
- Body copy
- CTA
- Product or content cards
- Secondary sections
- Footer
Then decide which elements should remain images and which should become live HTML.
Keep these as HTML whenever possible
- Headlines
- Paragraphs
- Prices
- Dates
- Product names
- Contact information
- CTA labels
- Navigation links
Export these as images
- Product photography
- Illustrations
- Logos
- Decorative artwork
- Complex visual compositions
- Photography-based backgrounds when genuinely necessary
This decision matters because text embedded inside an image cannot behave like normal responsive HTML text and disappears when the image is blocked.
Step 2: Simplify Anything That Is Too Web-Like
A designer may create an email in Figma using techniques that make perfect sense visually but are unnecessarily difficult to reproduce reliably in email.
Examples include:
- Overlapping cards
- Floating elements
- Complex transparency
- Text placed over several layers
- Irregular multi-column grids
- Very small typography
- Complicated background-image compositions
- Browser-style navigation
- Highly interactive components
You do not necessarily need to remove the visual idea. Instead, adapt it to an email-safe structure.
For example:
Figma design: Three cards overlapping a background graphic.
Email implementation: Three simple content blocks inside a stable table layout with the background used only as a decorative enhancement.
The visual result can remain close to the original while the underlying HTML becomes much more dependable.
Step 3: Export the Right Assets From Figma
Figma lets you export individual layers, frames, components, groups, or portions of the canvas. Its supported static export formats include PNG, JPG, SVG, and PDF.
For email, choose the format based on the asset.
Use JPG for photographs
JPG is normally appropriate for:
- Product photos
- Lifestyle photography
- Large photographic hero images
It usually produces smaller files than lossless formats for photographic content.
Use PNG for graphics that need transparency
PNG is useful for:
- Logos
- Icons
- Illustrations
- Transparent graphics
- Interface-style artwork
Be careful with SVG
Figma can export SVG, but SVG support is not identical across email environments. External SVG images have broader support than embedded <svg> markup, and compatibility still varies by client.
For an essential logo or CTA-related graphic, PNG is often the safer fallback when broad inbox compatibility matters.
Do not export the whole email as one image
A single screenshot may look exactly like the Figma design, but it creates a poor email implementation.
You lose:
- Live text
- Flexible responsiveness
- Individual links
- Accessible content structure
- Easy content editing
- Useful fallback behavior
Use exported images as components of the email—not as the email itself.
Step 4: Translate the Figma Layout Into Email Components
Think of each Figma component as an email block.
A useful mapping looks like this:
| Figma element | Email implementation |
|---|---|
| Frame | Main email container |
| Auto-layout section | Table row or structured content block |
| Text layer | Live HTML text |
| Image layer | <img> |
| Button component | HTML link/button structure |
| Two-column section | Table or hybrid responsive columns |
| Divider | Border or table divider |
| Background color | HTML/CSS background color |
| Background image | CSS background plus fallback |
| Icon | PNG or compatible image |
| Spacer | Cell padding or controlled spacer |
You do not need to reproduce the Figma layer hierarchy exactly.
Reproduce the visual relationships, not the design-tool structure.
Step 5: Build the Structural HTML
For layouts that need broad email-client compatibility, especially where Classic Outlook matters, table-based structures remain a conservative choice for important layout sections.
This is because modern browser layout techniques are not supported uniformly across email environments. Current compatibility data still shows partial or inconsistent support for Flexbox and Grid, particularly across different Gmail and Outlook environments.
A simple email structure might contain:
- Outer full-width table
- Centered content container
- Individual table rows for sections
- Nested tables for multi-column components
- Dedicated cells for spacing
This may look old-fashioned compared with modern website HTML, but email code has different priorities from website code.
Reliability matters more than architectural fashion.
Step 6: Convert Figma Text Into Live HTML
Do not export every heading and paragraph as an image simply to preserve the exact font.
Instead, recreate the text using HTML and define a sensible font stack.
For example:
Primary font: Brand font
Fallback: Arial, Helvetica, sans-serif
A fallback is important because font support differs among email clients.
When the custom font cannot be loaded, the recipient still receives readable text.
Also expect small typography differences between the design file and the final inbox. A fallback font may change:
- Character width
- Line wrapping
- Button width
- Section height
The goal is visual consistency, not absolute pixel equality.
Step 7: Convert Buttons Into Real Links
A button in Figma is simply a visual component.
In an email, it must become a real clickable link.
Do not export the entire button as an image.
Use HTML so that:
- The label remains readable when images are blocked.
- The destination can be changed easily.
- The clickable area can remain accessible.
- The button can adapt to different widths.
Classic Outlook may also require special treatment for certain button styles, particularly when relying on CSS features that Word-based rendering does not handle like modern browsers.
Rounded corners should be considered a visual enhancement. The button must still look and work like a CTA if those corners disappear.
Step 8: Handle Background Images Carefully
Background images are one of the most common places where a Figma design becomes difficult to reproduce exactly.
Support varies across clients, and Classic Outlook can require VML-based fallback techniques for background images. Current compatibility data documents different levels of background-image support across major inboxes.
When a Figma section contains text over a background image:
- Export the background separately.
- Add a solid fallback color.
- Keep the headline and CTA as live HTML.
- Ensure the copy remains readable if the background disappears.
- Add Outlook-specific fallback code when the image is essential.
Never allow the core message to depend completely on the background image.
Step 9: Make the Email Responsive
The Figma file may contain separate desktop and mobile designs.
Use those as specifications for how the email should behave, not necessarily as two completely separate templates.
Typical responsive changes include:
- Two columns becoming one column
- Smaller desktop padding on mobile
- Images scaling to available width
- Buttons becoming wider
- Headlines becoming smaller
- Content order changing
- Decorative elements being hidden
Gmail supports many standard CSS properties and media queries, but Google also notes that unsupported CSS properties or selectors may be ignored.
That means the base email should remain functional even when an advanced responsive rule is not applied.
Step 10: Import the Finished HTML Into MailEditor
Once the Figma design has been converted into email-safe HTML, you can import the HTML into MailEditor.
This is particularly useful when the developer has completed the technical conversion but marketers still need to make routine campaign changes.
MailEditor allows teams to work with imported HTML visually and update content such as text, images, links, spacing, and sections.
That creates a workflow such as:
Designer → Developer → MailEditor → Marketing team → ESP
Instead of:
Designer → Developer → marketer requests change → developer edits → marketer requests another change → developer edits again
For the complete editing process, see how to edit a custom HTML email template without coding.
How to Convert a PSD Design to HTML Email
The process for a Photoshop design is almost identical.
Step 1: Inspect the PSD Layers
Identify:
- Text layers
- Image layers
- Logos
- Buttons
- Backgrounds
- Content groups
- Decorative elements
If the PSD is properly layered, asset extraction is relatively straightforward.
If the file has been completely flattened, you may need to manually extract or recreate individual elements.
Step 2: Export the Image Assets
Photoshop supports workflows for exporting individual layers as files and setting formats for those exports. Adobe also provides asset-generation functionality from PSD layers and groups.
Export only the components that genuinely need to remain images.
For example:
Export:
Product photo
Do not export:
Product name + price + CTA as one graphic
Instead, build the product information as HTML and use the photo as the image.
Step 3: Recreate the PSD Layout in Email HTML
Convert the visual sections into email-safe blocks just as you would with Figma.
Your Photoshop canvas might contain:
- Header
- Hero
- Three products
- Promotional banner
- CTA
- Footer
Your HTML should reproduce those sections logically rather than trying to mirror Photoshop’s exact layer positions.
Step 4: Add Mobile Behavior
A desktop PSD often does not include instructions for smaller screens.
You may need to decide:
- Which columns stack first
- Whether images become full width
- How much padding remains
- Whether decorative graphics should be hidden
- How large buttons should become
If a mobile PSD is available, use it as your responsive reference.
Step 5: Import, Edit, and Test
Once the HTML is built, open it in MailEditor using the Import & Edit workflow.
You can then make the final visual adjustments without manually changing the source every time.
What Not to Do When Converting Figma or PSD to Email
Don't Export the Entire Design as a JPG
It may match the design perfectly, but it turns the campaign into an image instead of a useful HTML email.
Use live HTML for important information.
Don't Copy Website HTML and Assume It Will Work
A browser and an email client are different environments.
Gmail documents its own CSS support rules and notes that unsupported properties may be ignored, while Outlook environments have their own rendering constraints.
Don't Depend on Flexbox or Grid for Essential Layouts
Both can work in some inboxes, but current client-support data remains inconsistent enough that they should not be the only mechanism holding together a layout that must work broadly.
Use more conservative email layout techniques when compatibility matters.
Don't Turn Every Text Layer Into an Image
Live text is easier to:
- Edit
- Resize
- Search
- Translate
- Personalize
- Read when images are blocked
Export text as artwork only when it genuinely functions as artwork rather than content.
Don't Assume a Plugin's Output Is Ready to Send
If a Figma plugin generates HTML, inspect the code.
Check for:
- Flexbox
- Grid
- Absolute positioning
- Unsupported CSS
- Missing fallbacks
- Fixed widths
- Web-only fonts
- Excessive nested markup
- Missing Outlook handling
A code generator can speed up the first draft, but compatibility still needs to be validated.
Don't Skip the Final Sending Platform
An email can look correct as a local HTML file and change after being imported into an ESP.
Your sending platform may process links, images, styles, personalization, tracking, and template variables.
After you finish the email, test the exact version that will be sent.
MailEditor also provides a guide on exporting HTML email templates to an ESP after the design is complete.
Figma-to-HTML Email Checklist
Before coding:
- Confirm desktop and mobile designs.
- Identify live text.
- Identify image assets.
- Record colors and typography.
- Identify links and CTAs.
- Simplify web-only interactions.
- Decide what happens when backgrounds disappear.
During development:
- Use email-compatible structure.
- Keep important content as live HTML.
- Add font fallbacks.
- Make images responsive.
- Build real HTML buttons.
- Add background-color fallbacks.
- Add Outlook-specific fixes where necessary.
- Build mobile stacking behavior.
Before launch:
- Import the final HTML into the editing workflow.
- Replace all placeholder content.
- Check every link.
- Add alt text.
- Test personalization.
- Check desktop.
- Check mobile.
- Check Gmail.
- Check Outlook.
- Check Apple Mail where relevant.
- Check light and dark modes.
- Test the actual ESP version.
How to Test a Converted Figma or PSD Email
Testing is part of the conversion—not an optional step after it.
A Figma preview only proves that the design works in Figma.
A browser preview proves only that the code works in that browser.
Neither proves that the campaign will behave correctly in an inbox.
Test the final email in the environments that matter to your audience, especially:
- Gmail
- Outlook
- Apple Mail
- Mobile email apps
- Desktop and mobile widths
- Light and dark modes
MailEditor’s email testing tool lets you send HTML tests to inboxes you control so you can review the final campaign before sending.
What If You Don't Have a Figma or PSD Designer?
You do not need to start every email from a design file.
If the objective is simply to launch a professional campaign quickly, starting with an existing responsive template may be more efficient than designing in Figma and then rebuilding the design as email HTML.
MailEditor provides responsive HTML email templates that can be customized visually and exported as HTML.
Use the Figma-to-HTML workflow when you have a genuinely custom design that needs to be reproduced.
Use an existing template when speed matters more than designing every section from scratch.
Frequently Asked Questions
Question: Can Figma export directly to HTML email?
Answer:Figma's native static-design export options include formats such as PNG, JPG, SVG, and PDF rather than production-ready HTML email. You can use exported Figma assets to build the email, while third-party code-generation workflows should still be checked for email-client compatibility.
Question: How do I convert Figma to HTML email?
Answer:Export the required images and graphics, recreate the structure using email-safe HTML, convert text and buttons into live HTML, add responsive behavior and client-specific fallbacks, then test the completed email.
Can I convert Figma to HTML email without coding?
Answer:Yes. One approach is to export the visual assets from Figma and recreate the design in a visual email editor. MailEditor provides a drag-and-drop HTML email editor for building and customizing responsive email layouts visually.
Question: Can MailEditor import a Figma file directly?
MailEditor's documented Import & Edit workflow is for existing email HTML rather than native Figma design files. Export your Figma assets and either recreate the design visually or convert it to HTML first, then import the HTML into MailEditor.
Question: Can MailEditor import a PSD file directly?
Answer:MailEditor's documented import workflow focuses on HTML email rather than native Photoshop PSD files. Export the necessary PSD assets, recreate or code the email, and then use MailEditor for visual editing of the resulting HTML.
Question: Should I export the whole Figma email as one image?
Answer:No. Use individual visual assets while keeping important headings, paragraphs, prices, links, and buttons as live HTML. This creates a more flexible email and prevents the entire message from disappearing when one image cannot load.
Question: Should I use PNG or SVG from Figma for email?
Answer:PNG is a conservative choice for critical logos, icons, and transparent graphics. Linked SVG images work in many clients, but support still varies, and embedded SVG support is substantially more limited.
Question: Can Photoshop automatically convert PSD to HTML email?
Answer:Photoshop can export individual layers and create image assets, but the resulting assets still need to be assembled into an email-compatible HTML structure.
Question: Why does my converted Figma email look different in Outlook?
Answer:Classic Outlook and modern web-based email clients do not use identical HTML rendering behavior. Outlook's Word-based desktop rendering has historically required additional care with layouts, backgrounds, spacing, and other CSS treatments.
Question: Can I edit the HTML after it has been converted?
Answer: Yes. You can edit source code manually or import the existing HTML into MailEditor and update supported content visually.
Final Answer
Converting Figma to HTML email or PSD to HTML email is not about turning every pixel into browser code.
The correct workflow is:
Design file → export assets → build email-safe structure → add responsive and client fallbacks → visually edit → test → export
Keep important copy and buttons as live HTML. Use images only where they genuinely belong. Avoid relying on browser-only layouts, and always test the final delivered version across the inboxes your audience uses.
If you already have the converted HTML, import and edit it in MailEditor. If you only have the Figma or PSD design and exported assets, you can recreate the layout using MailEditor's drag-and-drop email editor, then test the final HTML with the email testing tool before sending.
Popular Blogs
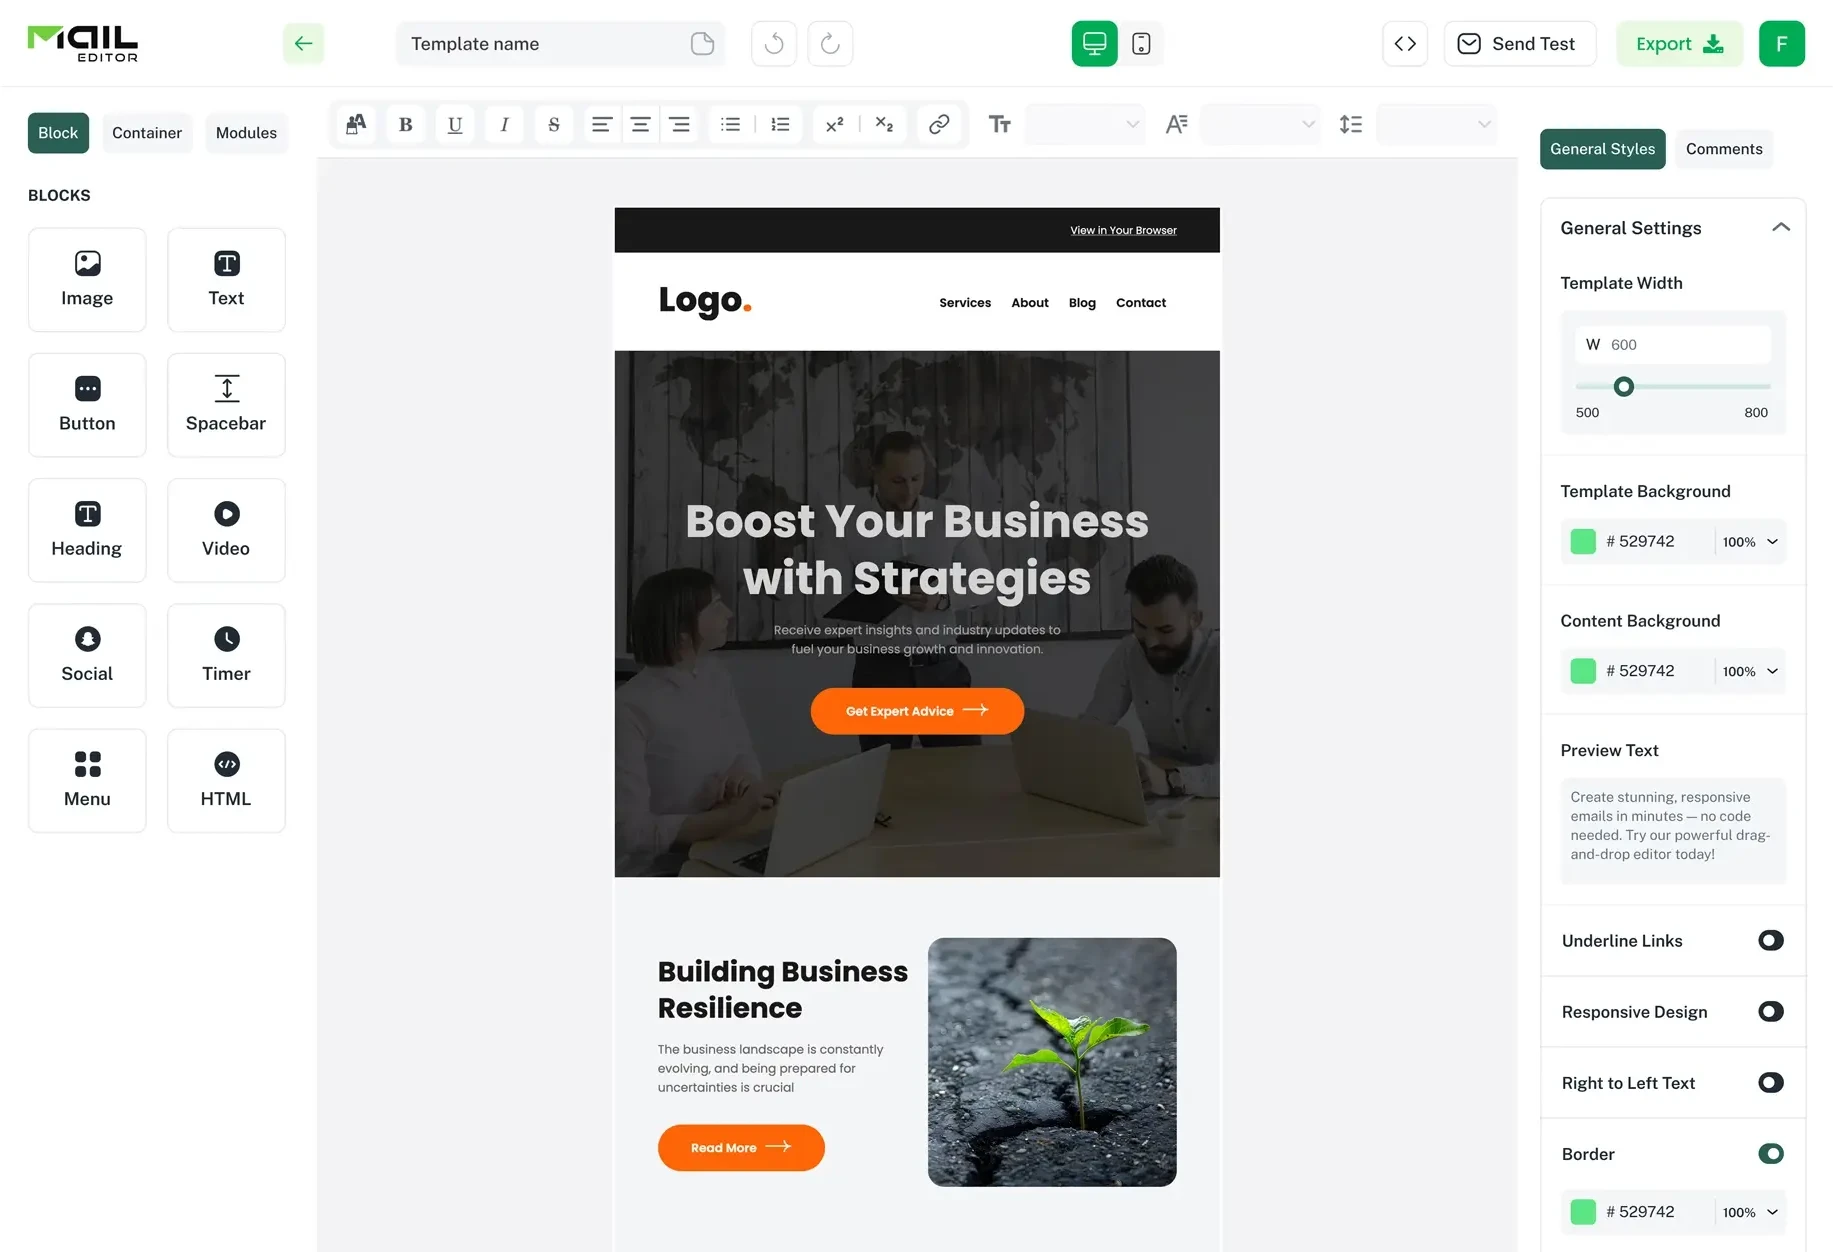
Email Design2 mins to read
Top Email Template Builders & HTML Email Editors for 2026
Compare the best email template builders and HTML editors to design professional, responsive campaigns without coding.

Email Tips7 mins to read
Best Drag and Drop Email Editors in 2026
Discover the best drag and drop email editors in 2026. Compare top tools, features, templates, pricing, and automation to build stunning emails fast.
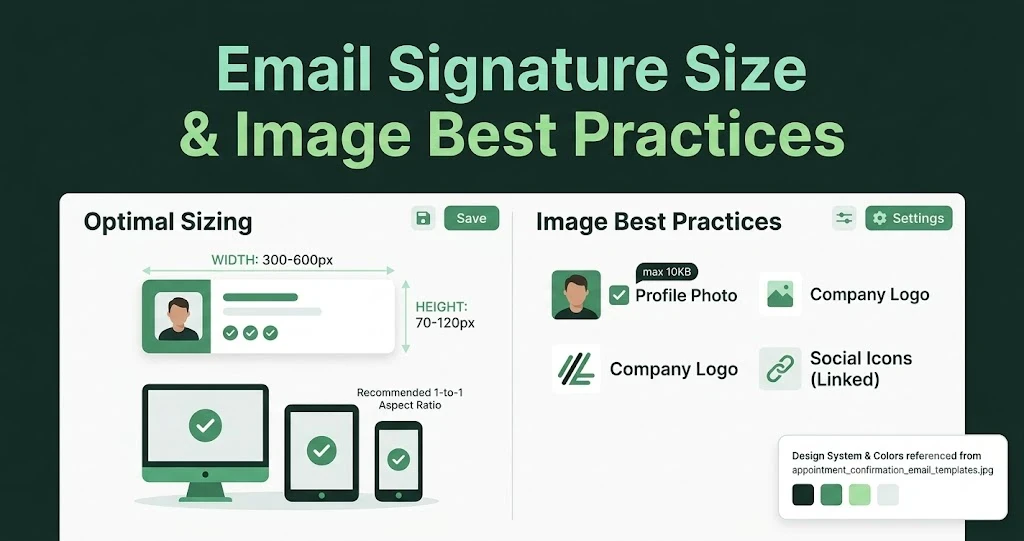
Email Design9 mins to read
Email Signature Size and Image Best Practices
The ideal email signature is 320–600px wide and 90–200px high. Learn the best image sizes, formats, file limits, and mobile-friendly design tips.

Marketing7 mins to read
4 Best Unlayer Alternatives to Design Emails
Looking for Unlayer alternatives? Explore the 4 best email design tools to create beautiful, responsive emails faster and easier.

Marketing6 mins to read
5 Beefree Alternatives to Upgrade Email Design Workflows
Looking for a better email design tool? Explore 5 Beefree alternatives that streamline workflows, improve collaboration, and elevate email campaigns.